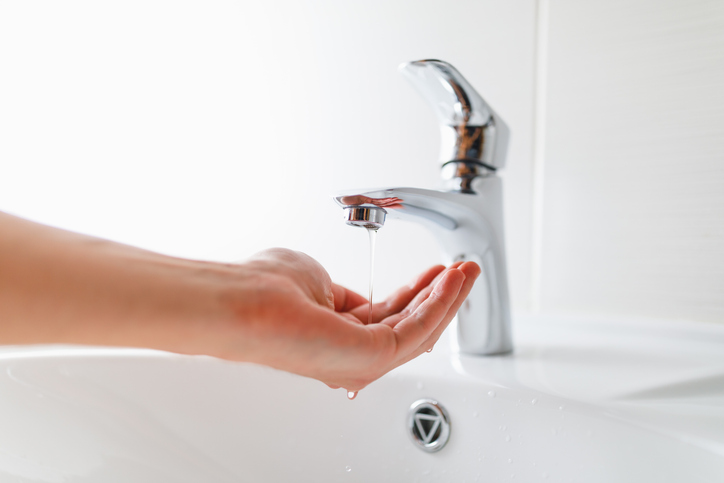
Low water pressure can make everyday chores frustrating. Slow showers, weak faucets, and sluggish appliances disrupt routines and create unnecessary stress. Understanding how to turn up water pressure in a house using the main water regulator can solve these problems efficiently. With a few simple steps, careful monitoring, and patience, you can enjoy stronger water flow throughout your home without calling in expensive repairs. In addition, regular maintenance of your plumbing system ensures consistent pressure and prevents future issues.
Locate the Main Water Regulator
The main water regulator, or pressure-reducing valve (PRV), controls the water pressure entering your home. It is usually located near the main shutoff valve, often in the basement, garage, or utility room. Identifying it is the first step in how to adjust the water pressure regulator safely. Some homes may have older regulators, which can be harder to spot, so take a careful look around water entry points. Knowing its exact location also allows you to monitor it for leaks or wear over time.
Measure Your Current Water Pressure
Before making any adjustments, measure your water pressure using a pressure gauge attached to an outdoor faucet or hose bib. Most homes operate best between 50–60 psi. Anything below this range can affect faucets, showers, and appliances. Low pressure may result from sediment buildup or partially closed valves. If your reading is low, it’s time to understand how to increase water pressure in the home safely to restore proper flow.
Turn Off the Main Water Supply (Optional but Safer)
While some modern regulators allow adjustments with the water running, turning off the main water supply is safer. This step prevents sudden surges that could damage pipes or connected appliances. Turning off the supply also allows you to inspect the PRV for leaks or corrosion, giving you a clearer understanding of adjusting the pressure regulator without risk. A small investment of time here prevents potential plumbing problems later.
Identify and Understand the Adjustment Screw
Most PRVs feature a screw or bolt at the center, which controls downstream water pressure. Depending on your valve type, you may need a flathead screwdriver or an adjustable wrench. Familiarizing yourself with this mechanism is essential for how do you increase water pressure. Some regulators have a locking nut that needs loosening before adjustment, while others adjust directly. Understanding your valve’s design ensures safer, more accurate results.
Make Small, Gradual Adjustments
When adjusting the screw, always turn it clockwise to increase pressure and counterclockwise to reduce it. Make small turns, roughly a quarter turn at a time, and check the pressure with your gauge after each adjustment. This careful method helps prevent overpressurizing your plumbing. Gradual changes are the safest way to understand how to improve water pressure in the house and allow you to notice the difference in real time. Small, incremental adjustments prevent sudden stress on pipes, faucets, and appliances.
Test Water Pressure in Multiple Areas
After each adjustment, run faucets in different parts of your home: bathrooms, kitchen, and utility rooms. Observe appliance performance, including dishwashers, washing machines, and showers. Testing in multiple locations ensures that pressure increases are consistent and evenly distributed. Uneven flow may indicate additional issues like clogs or partial valve obstruction, which could require further attention. Monitoring your home this way ensures no surprises later.
Repeat Adjustments Until Pressure Is Balanced
Sometimes, reaching optimal water pressure requires several small tweaks. Continue adjusting slowly and testing with your pressure gauge until readings are within the ideal 50–60 psi range. Avoid large adjustments at once to prevent stress on pipes and fixtures. Over time, small, repeated adjustments give you full control and allow your system to adapt naturally. Proper balancing prevents leaks and prolongs the life of your plumbing system.
Know When to Call a Professional
Even after careful adjustments, some homes may have more complex issues causing low water pressure. Clogged pipes, mineral buildup, or a faulty regulator may require a plumber’s expertise. A licensed professional can inspect your system, identify underlying causes, and restore steady water pressure. Consulting a plumber also ensures long-term safety and dependability, especially if your home has older plumbing.
Improving your home’s water flow is achievable with careful steps and monitoring. By locating the main water regulator, making gradual adjustments, and testing the system throughout your home, you can enjoy stronger showers, faster faucet flow, and better appliance performance. Remember, safety and patience are key. If problems persist, call a professional to ensure your home’s plumbing remains efficient and protected. Following these steps keeps your system running smoothly and reduces the risk of leaks or damage.
Need help improving your home’s water pressure? Call Mike Diamond Plumbing & HVAC at 800-446-6453 for our fast, dependable service and expert solutions.
FAQs
Q. How do I know if my water pressure is too low?
Attach a pressure gauge to an outdoor faucet. Ideal residential water pressure is 50–60 psi. Anything lower may cause weak flow and slow appliance operation.
Q. Can I safely adjust the water pressure myself?
Yes, minor adjustments to the main water regulator are generally safe. Turn the screw gradually and monitor pressure after each adjustment.
Q. Will increasing water pressure damage my plumbing?
Water pressure above 60 psi can strain pipes, faucets, and appliances. Gradual adjustments prevent damage while ensuring safe, consistent flow.